 (Image via
A family scrapbook is a way to preserve memories, celebrate traditions, and pass down stories to future generations. Imagine your loved ones flipping through its pages years from now, learning about the traditions, celebrations, and moments that made your family unique. Whether you’re capturing annual holiday traditions, recipes, or milestone events, a scrapbook can become a treasured keepsake that keeps your family’s heritage alive. If you’ve never made one before, don’t worry! Creating a scrapbook is easier than it sounds and a fun, creative activity that anyone can enjoy. Here’s everything you need to know to get started on making a family scrapbook that will truly stand the test of time.
The First Step: Brainstorming Themes
Before you start cutting and gluing, think about what you want your scrapbook to focus on. Brainstorming a theme will help give your project direction and make it more meaningful. Here are some ideas you can consider:
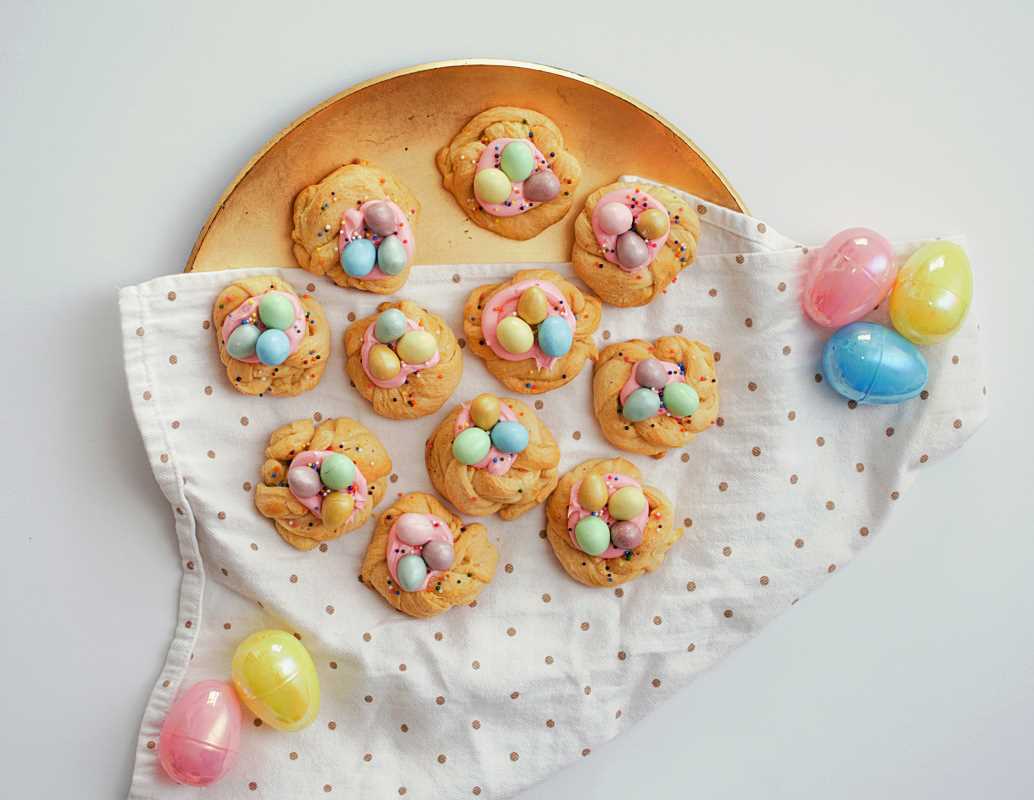
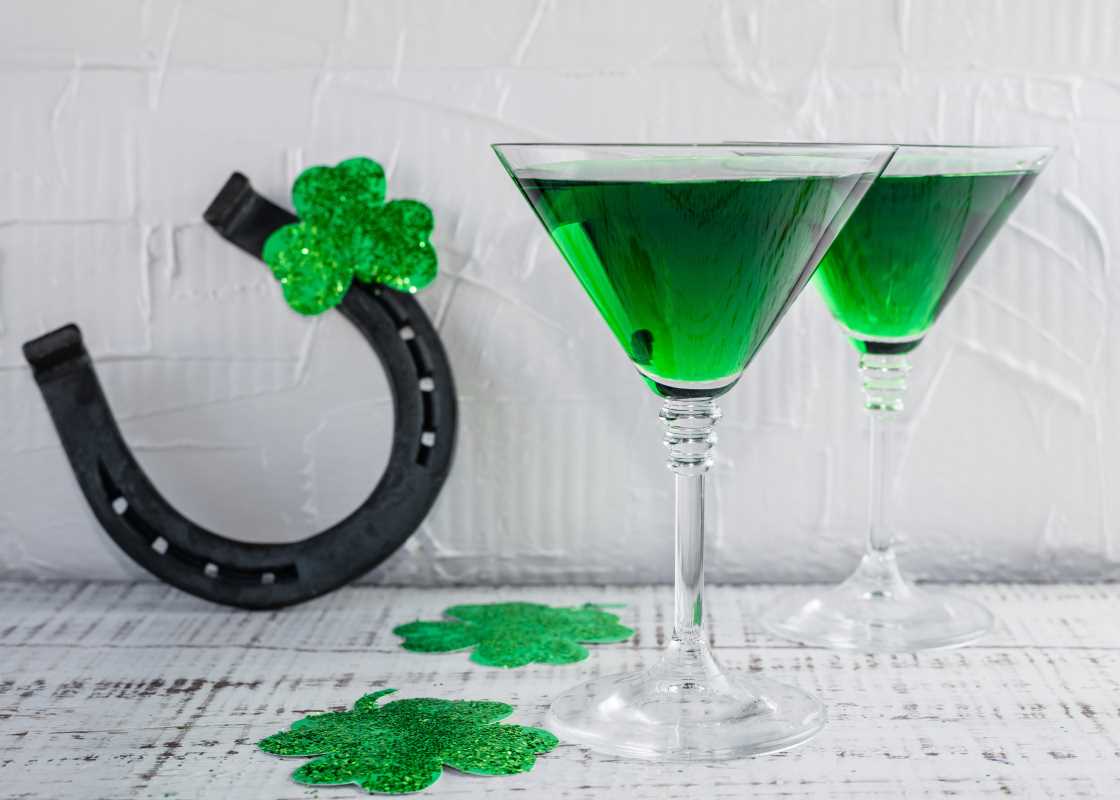
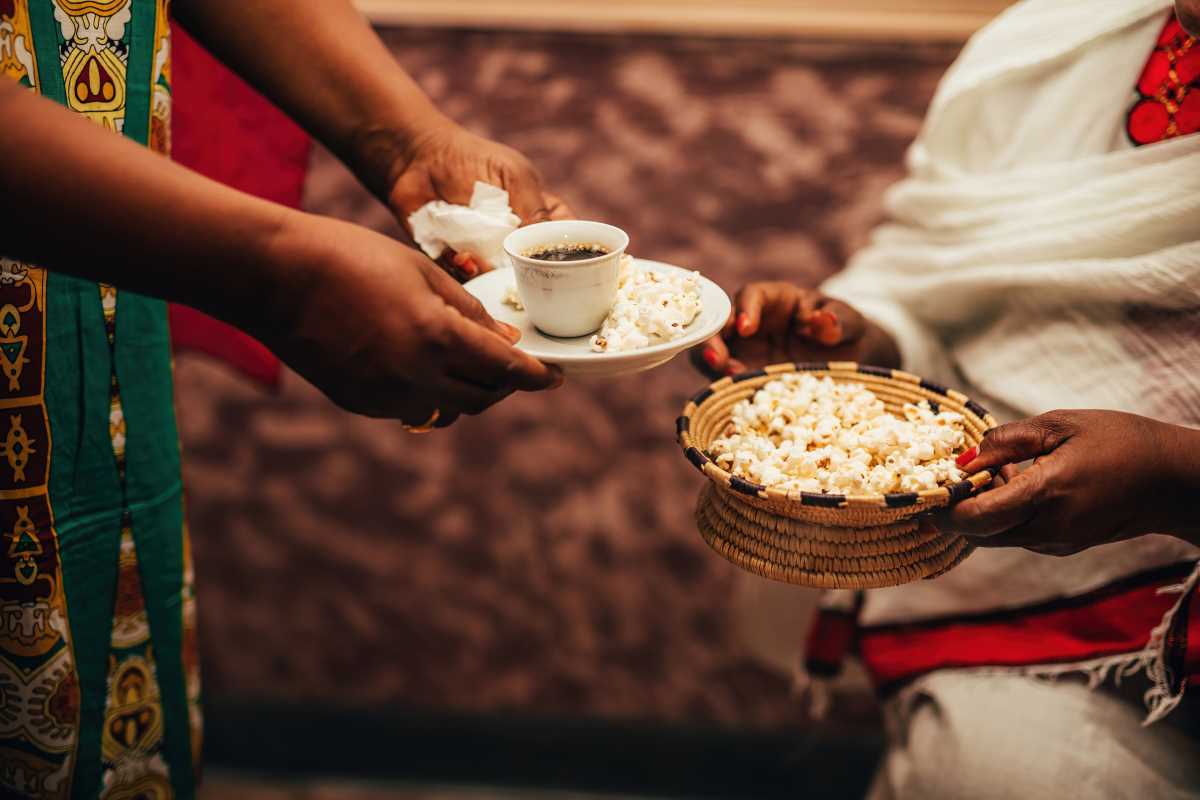
- Family Traditions: Highlight unique customs like holiday celebrations, birthday rituals, or family recipes.
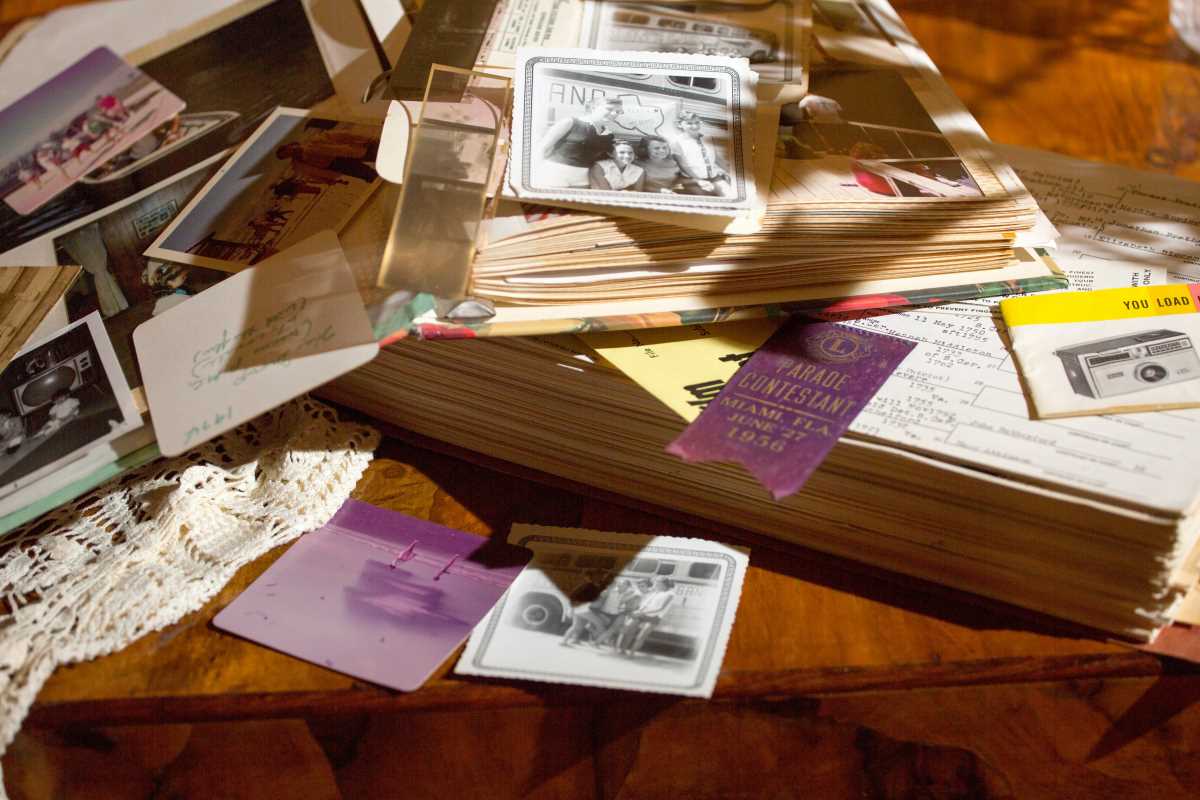
- Family History: Explore your ancestry by dedicating pages to older generations, complete with vintage photos and hand-written stories.
- Milestones: Create pages for major events like weddings, graduations, and family vacations.
- Everyday Life: Don’t overlook the beauty of simple moments, like game nights, Sunday dinners, or long walks in the park.
Choosing a theme also helps you narrow down which photos and memorabilia to include. If you’re making a scrapbook with multiple themes, you can divide it into sections for clarity.
Gather and Organize Your Materials
Now that you have a theme or two in mind, the next step is gathering your materials. This is where the magic happens. You’re essentially collecting all the puzzle pieces that will tell your family’s story. Here’s what to focus on:
- Photos: Dig through old albums, scan printed photos, or gather digital images. Try to include a variety, from posed group shots to candid moments.
- Memorabilia: Collect tickets, postcards, greeting cards, kids’ art, or letters that can give your scrapbook texture and personality.
- Notes and Stories: Write down short anecdotes or ask relatives to share their memories. Add dates, names, and locations so future generations can connect the dots.
Once you’ve gathered everything, organize it. You can use folders or boxes to sort items by event, year, or theme. This will make the design process smoother.
Essential Tools and Supplies You’ll Need
Scrapbooking is a hands-on project, so setting yourself up with the right tools is crucial. Here’s a list of basic supplies for beginners:
- Scrapbook Album: Choose a sturdy album with removable pages so you can add or rearrange them later.
- Cardstock and Patterned Paper: These serve as your page backgrounds. Patterned paper adds color and depth, while plain cardstock is great for balance.
- Adhesives: Use glue sticks, double-sided tape, or photo-safe adhesive dots to secure items. Choose acid-free options to preserve your materials.
- Scissors and Craft Knife: Go for sharp scissors and a precision craft knife for cutting intricate shapes or trimming paper.
- Pens and Markers: Invest in fine-tip pens and markers in different colors for writing captions and titles.
- Ruler and Templates: These help keep your layouts neat and symmetrical.
- Decorative Embellishments: Stickers, washi tape, stamps, and ribbons can add creative flair to your pages.
- Photo Corners: These are great for attaching photos without damaging them.
- Storage Box: Keep all your tools and supplies organized in one place.
These basics will help you get started, and you can always add more as you discover your personal scrapbooking style.
Designing Your Scrapbook Pages
Now comes the fun part: bringing your scrapbook to life! Here’s a breakdown of how to design meaningful and visually appealing pages:
Plan Your Layout
Before gluing anything down, lay everything out on the page to see how it will look. Experiment with arranging photos, papers, and embellishments. You can place larger items in the corners or center of the page and fill in spaces with smaller decorations like stickers.
Choose Color Themes
Select a color scheme that complements your theme or the items you’re using. Soft pastels work well for baby photos, while bold, earthy tones can enhance nature or travel pages.
Add Personal Touches
Make it uniquely yours by adding handwritten captions, quotes, or stories. You can also include fun extras like a relative’s recipe card written in their own handwriting or a tiny envelope with a keepsake tucked inside.
Layer for Depth
Create depth by layering elements such as patterned paper, photos, and embellishments. For example, you can frame a photo with a piece of colorful cardstock or use textured materials like lace or fabric.
Tell a Story
Think of each page as one chapter in your family’s story. Include enough details so someone flipping through these pages years from now will understand the context.
Tips to Make Your Scrapbook Special
Here are some tips to take your scrapbook to the next level:
- Get the Family Involved: Make it a collaborative project. Ask family members to contribute their favorite photos and memories or even help you design pages.
- Use Digital Tools: If physical scrapbooking feels overwhelming, consider trying a digital scrapbook. Many apps and websites offer templates, and you can print your completed project as a hardcover album. Canva has several to look through, and it's a very easy website to use.
- Leave Space for the Future: Dedicate a few blank pages at the end for updates or new traditions that emerge over time.
- Preserve Properly: Store your scrapbook in a cool, dry place to prevent damage. Choose acid-free materials to avoid discoloration or degradation over time.